

+86 18062115625
+86 18062115625

Nouvelles de l'industrie
Accueil > News > Nouvelles de l'industrieThe operation of military helmet-mounted night vision goggles requires strict adherence to specifications to ensure stable performance and safe mission execution. The following are basic operating procedures and precautions:
I. Pre-Operation Preparation
Equipment Inspection
Appearance Inspection: Verify that the outer casing is free of damage, the lens is free of scratches or stains, the connecting cables (such as the clips and cables securing the helmet) are intact, and the waterproof and dustproof seals are not deteriorated.
Power Check: Install the appropriate battery (usually CR123A or a dedicated lithium battery), confirm the correct polarity, and power on the goggles to verify the low-battery indicator is functioning properly (if it is on, replace the battery immediately).
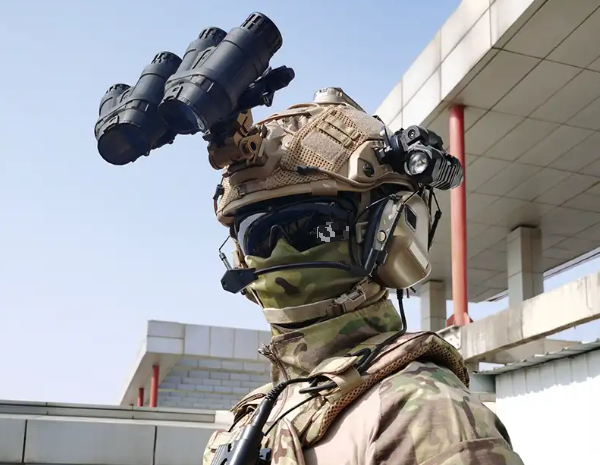
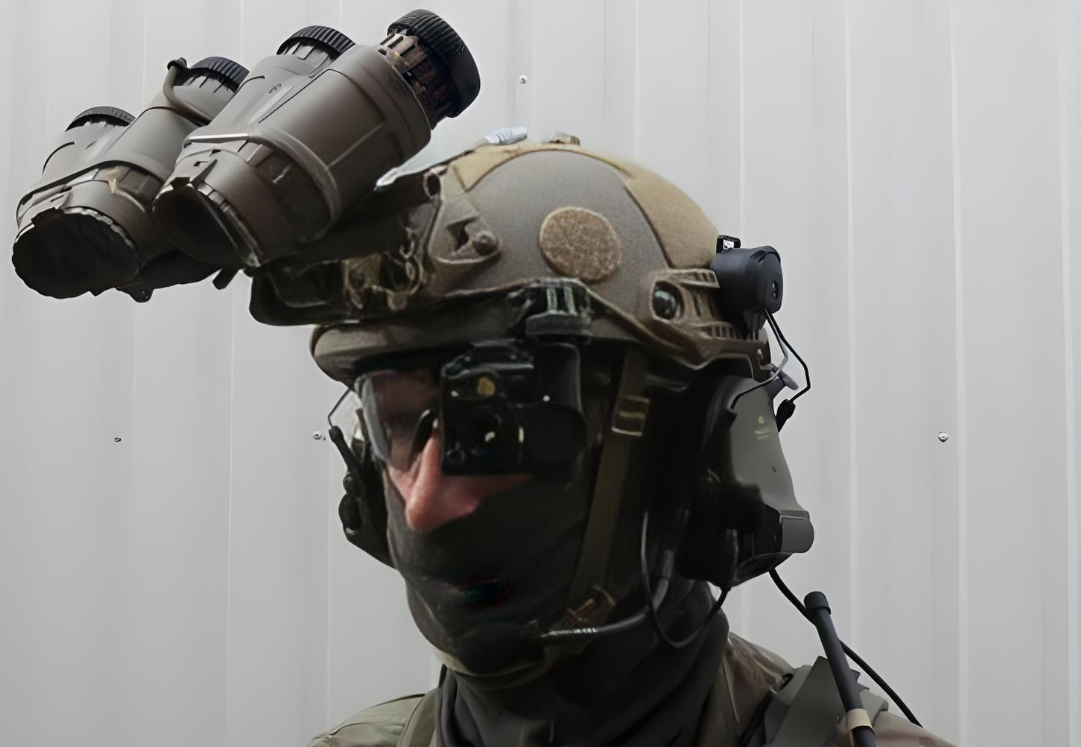
Helmet Fitting: Secure the goggles to the night vision goggle base of the tactical helmet using the quick-release buckle. Adjust the tightness to ensure the goggles are secure and comfortable to wear.
Environmental Assessment
Observe the lighting conditions: In low-light environments (starlight or moonlight), use the low-light mode directly. In complete darkness, activate the infrared auxiliary lighting in advance to avoid sudden exposure. Avoiding Bright Light: Before operating, ensure there is no strong light (such as searchlights or vehicle lights). Exposure to strong light can damage the image intensifier in low-light-level night vision devices. While some devices have strong light protection, this should be avoided as much as possible.
II. Basic Operation Procedure
Power On and Mode Switching
Press and hold the power button to turn on the device (some devices use a rotary switch). Wait 3-5 seconds for the image intensifier to warm up and for the screen to display a clear image before starting operation.
Mode Selection:
Low-Light Mode: The default mode, suitable for environments with low natural light. The image is green (a characteristic of the fluorescent screen of mainstream night vision devices).
Infrared Mode: Press the "IR" button to activate the infrared auxiliary light (invisible to the human eye). This increases the field of view brightness and is suitable for completely dark environments. However, the infrared light source may be detected by enemy night vision equipment, so use with caution.
Diopter and Field of View Adjustment
Diopter Adjustment: Rotate the diopter ring on the eyepiece until the image is clear. (Each user's vision varies, so individual adjustment is required.) Field of View Calibration: If the device supports interpupillary distance adjustment (some binocular models), adjust the distance between the eyepieces to ensure that the images seen by both eyes are free of double vision. For monocular devices, adjust your head to adjust the field of view (usually around 40°).
Observation and Movement
Keep your head steady while observing and use your peripheral vision to monitor your surroundings to avoid missing targets due to field of view limitations.
Slow down when moving, especially in complex terrain (such as mountains or ruins). Infrared mode can be used to identify obstacles, but be careful to control the infrared light power (some devices can be adjusted) to avoid excessive power consumption.
Power Off and Storage
After completing a task, press and hold the power button to shut down the device and confirm that the screen is off.
When disassembling the device, tighten the buckle gently to avoid pulling on the cables. If dust or moisture is present, wipe with a dedicated lens cloth (do not use solvents such as alcohol), then store in a moisture-proof and shock-resistant carrying case.
III. Precautions
Device Protection
Avoid direct exposure to strong light (including sunlight or explosive light). Strong light can permanently damage the image intensifier. If exposed to sudden strong light, immediately close your eyes and shut down the device. Avoid severe impact or submersion in water (even waterproof models should avoid prolonged underwater immersion). After using in low temperatures and before entering a warm environment, turn off the device to prevent the lens from fogging.
Tactical Specifications
Infrared mode should only be used when necessary, and avoid prolonged exposure to the same area to prevent enemy detection.
When operating with multiple personnel, standardize night vision device parameters (such as infrared power) to prevent interference between devices.
Store spare batteries in a separate waterproof bag to ensure sufficient charge in low-temperature environments (lithium batteries lose capacity at low temperatures).
Maintenance
Regularly check the image intensifier's performance (for example, for dark spots or blurred images). If any abnormalities are detected, send the device to a professional repair facility; do not disassemble it yourself.
![]()
Remove the battery during long-term storage to prevent leakage and damage to the circuitry. Store in a dry, dark environment at a temperature between -10°C and 30°C.
Military helmet-mounted night vision devices are an important part of tactical equipment. Proficient operation not only improves nighttime combat effectiveness but also extends the device's lifespan. In actual use, it is necessary to combine the specific mission scenarios and equipment models (such as monocular/binocular, second-generation/third-generation image intensifier), flexibly adjust the operation mode, and strictly abide by the military equipment usage specifications.


